PEX Tube Compression Fitting Tee: The Complete Guide to Branching
Description
Introduction
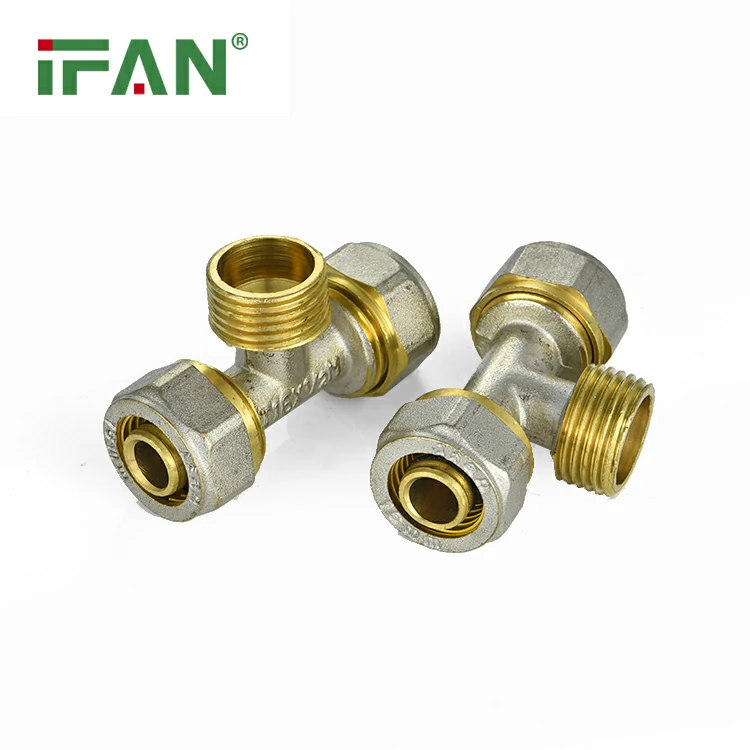
The PEX Tube Compression Fitting Tee is a game-changer for plumbing systems requiring branch connections without soldering, gluing, or crimping. Designed to split a single PEX line into two directions, this tee fitting uses a compression nut-and-ferrule system to create a secure, reusable joint compatible with all PEX types (A, B, C). Whether you’re adding a bathroom sink, connecting a water filter, or expanding a hydronic heating loop, compression tees simplify the process while ensuring long-lasting durability. This guide explores their design, advantages, installation techniques, and top use cases to help you achieve professional results with minimal tools.
What Is a PEX Tube Compression Fitting Tee?
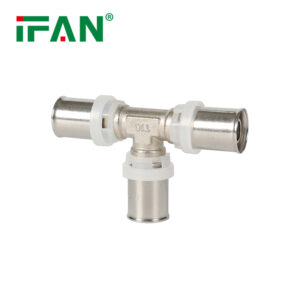
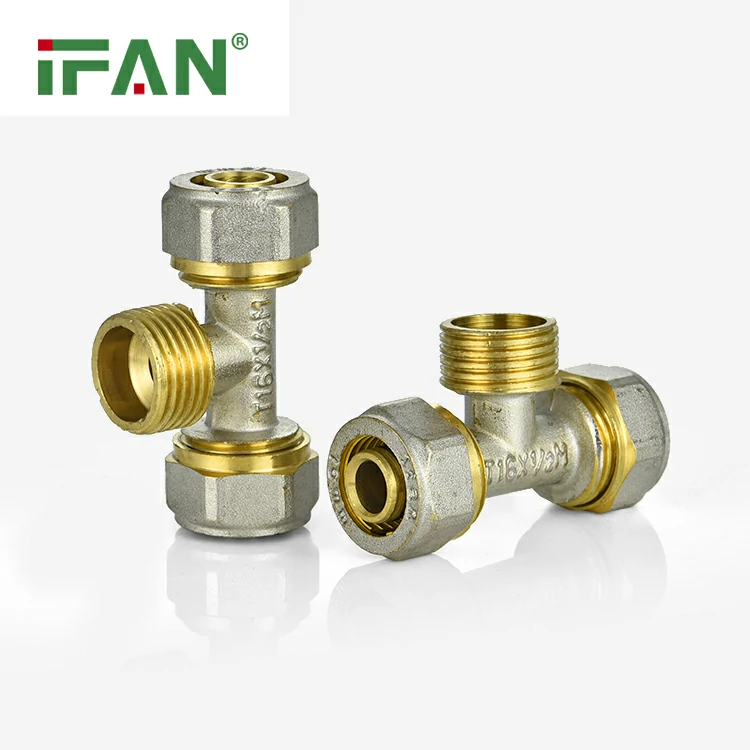
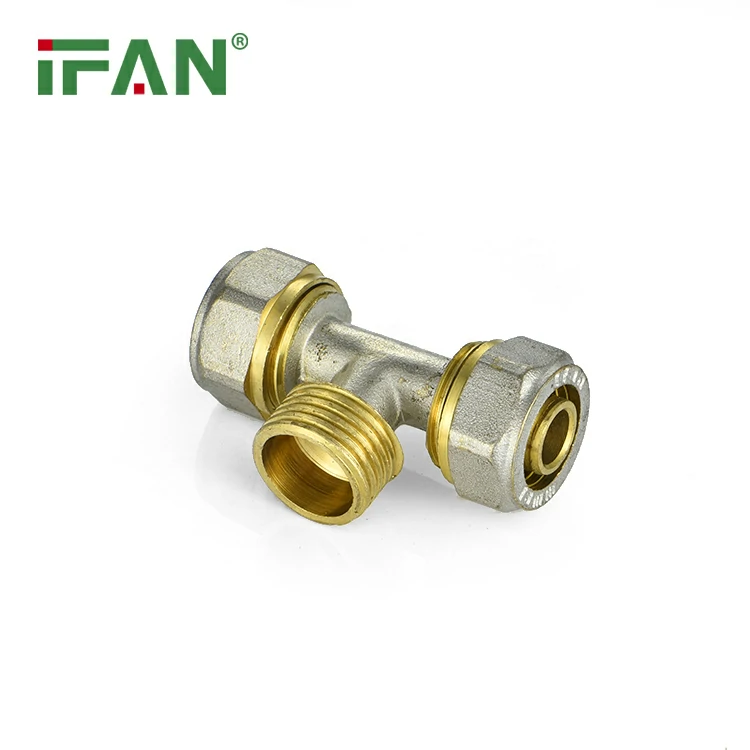
A PEX Tube Compression Fitting Tee consists of three ports:
Straight Run Port: Connects to the main PEX supply line (e.g., from a manifold or water heater).
Branch Port: Splits off at a 90-degree angle to connect to a fixture, appliance, or additional piping.
Compression Mechanism: Each port uses a brass nut and ferrule to clamp the PEX tube, creating a 360-degree seal without adhesives or heat.
Available in sizes from ¼-inch to 1-inch, these tees are ideal for potable water systems, radiant floor heating, and industrial applications where flexibility and reliability are critical.
Why Choose PEX Tube Compression Fitting Tees?
1. Tool-Free Installation
No Specialized Equipment: Unlike crimped fittings requiring a PEX crimper or expansion tool, compression tees need only adjustable wrenches and a pipe cutter.
Quick Setup: Perfect for DIYers or contractors needing to make rapid connections during renovations or repairs.
2. Reusable and Adjustable
Repositioning: If you misalign the tee during installation, simply loosen the nuts, adjust the PEX tubing, and retighten.
Future Modifications: Easily remove the tee to add new branches or reroute piping without cutting and replacing sections.
3. Universal Compatibility
All PEX Types: Works with PEX-A (most flexible), PEX-B (rigid), and PEX-C (stiffer) tubing.
Cross-Material Connections: Some tees include adapters to join PEX to copper, CPVC, or PEX-AL-PEX pipes.
4. Leak-Proof Performance
Dual Sealing: The ferrule compresses uniformly around the PEX tube, preventing leaks even under high pressure (up to 200 PSI).
Vibration Resistance: Unlike soldered joints that crack under movement, compression tees absorb shifts caused by temperature changes or foot traffic.
5. Safe and Eco-Friendly
No Open Flames: Eliminates fire risks associated with soldering, making them safer for occupied buildings.
Chemical-Free: Avoid toxic fluxes or glues that could contaminate drinking water.
Step-by-Step Installation Guide
1. Gather Materials
Compression tee fitting (e.g., ½-inch brass tee with three compression ports).
PEX tubing (cut to length for the main run and branch).
Adjustable wrenches (two) or a backup wrench to hold the tee body.
Pipe cutter (rotary or ratcheting).
Deburring tool (to smooth pipe edges).
Marker (to label PEX tubes for alignment).
2. Prepare the PEX Tubing
Measure and mark the PEX tubes for the main run (straight port) and branch (angled port).
Use a rotary cutter to make clean, square cuts. Avoid sawing, which creates uneven edges.
Ream the interior and exterior of each cut end with a deburring tool to remove sharp burrs that could damage the ferrules.
Wipe the tubes with a clean cloth to eliminate dust or debris.
3. Slide Components onto the PEX Tubes
Order matters:
Slide a compression nut onto each PEX tube (threaded side facing outward).
Slide a ferrule onto each tube (tapered end facing the tee fitting).
4. Insert PEX Tubes into the Tee Ports
Push the prepared main run tube into the tee’s straight port until it stops (typically 1–1.5 inches deep).
Align the branch tube with the tee’s angled port and insert it fully.
Ensure both tubes are seated correctly by checking for alignment marks on the tee (if provided).
5. Tighten the Compression Nuts
Hold the tee body steady with one adjustable wrench.
Use the second wrench to tighten each compression nut 1.5 to 2 full turns clockwise.
Tip: Hand-tighten first, then use wrenches for the final quarter-turn to avoid over-tightening.
Over-tightening can crack the ferrule or strip threads; under-tightening may cause leaks.
6. Test the Connection
Pressurize the system to 100 PSI and inspect all ports for leaks.
If leaks occur, slightly tighten the nuts (¼-turn increments) until the seal holds.
Gently tug on each PEX tube to confirm they’re securely locked into the tee.
Real-World Applications
1. Bathroom Sink Addition
A homeowner in Texas used a ½-inch brass compression tee to split a PEX supply line from the bathroom manifold, adding a new sink without soldering near drywall. The tool-free design reduced installation time by 50% compared to copper piping.
2. Water Filter Installation
A plumber in California installed a ¾-inch stainless-steel compression tee under a kitchen sink to branch off a cold water line for a reverse osmosis filter. The reusable fitting allowed easy removal for future filter replacements.
3. Radiant Floor Heating Expansion
A contractor in Minnesota used ¾-inch PEX compression tees to add new loops to an existing radiant heating system. The compatibility with PEX-A tubing and lack of specialized tools streamlined the project, saving $1,200 in labor costs.
Common Mistakes to Avoid
1. Forgetting to Deburr PEX Tubing
Issue: Sharp burrs can slice the ferrule, causing leaks.
Fix: Always ream cut ends before inserting them into the tee.
2. Over-Tightening the Nuts
Issue: Excessive force can deform the ferrule or crack the tee body.
Fix: Tighten until snug, then add ¼-turn increments while testing for leaks.
3. Mixing Ferrule Sizes
Issue: Using a ½-inch ferrule on a ¾-inch tube will fail to seal.
Fix: Ensure all components (nuts, ferrules, tee) match the PEX tube diameter.
Conclusion
PEX Tube Compression Fitting Tees are a versatile, durable, and user-friendly solution for branching PEX piping systems. By following proper installation techniques, users can create leak-proof connections without specialized tools or training. Whether for residential renovations, commercial plumbing, or radiant heating projects, these tees simplify complex branches while ensuring long-term reliability in any application.IFAN factory started in 1993. And IFAN has workshop 120000 square meter with 610 staff. IFAN can design and produce all plumbing pipe and fitting include PPR,PVC,CPVC PPSU HDPE PEXA PEXB PERT pipe and fitting ,brass fitting, brass ball valve ,heating system , gas system , sanitary faucets and hose, In the past 30 Years, IFAN has never forgotten his mission-To protect health and safety. And IFAN factory use best materials to produce high quality pipe and fittings with automatic production line and high tech quality control machines. The most important,IFAN can guarantee that all pipes and fittings manufactured by IFAN are qualified. More information pls feel free contact us Whatsapp.

 Brass Fitting